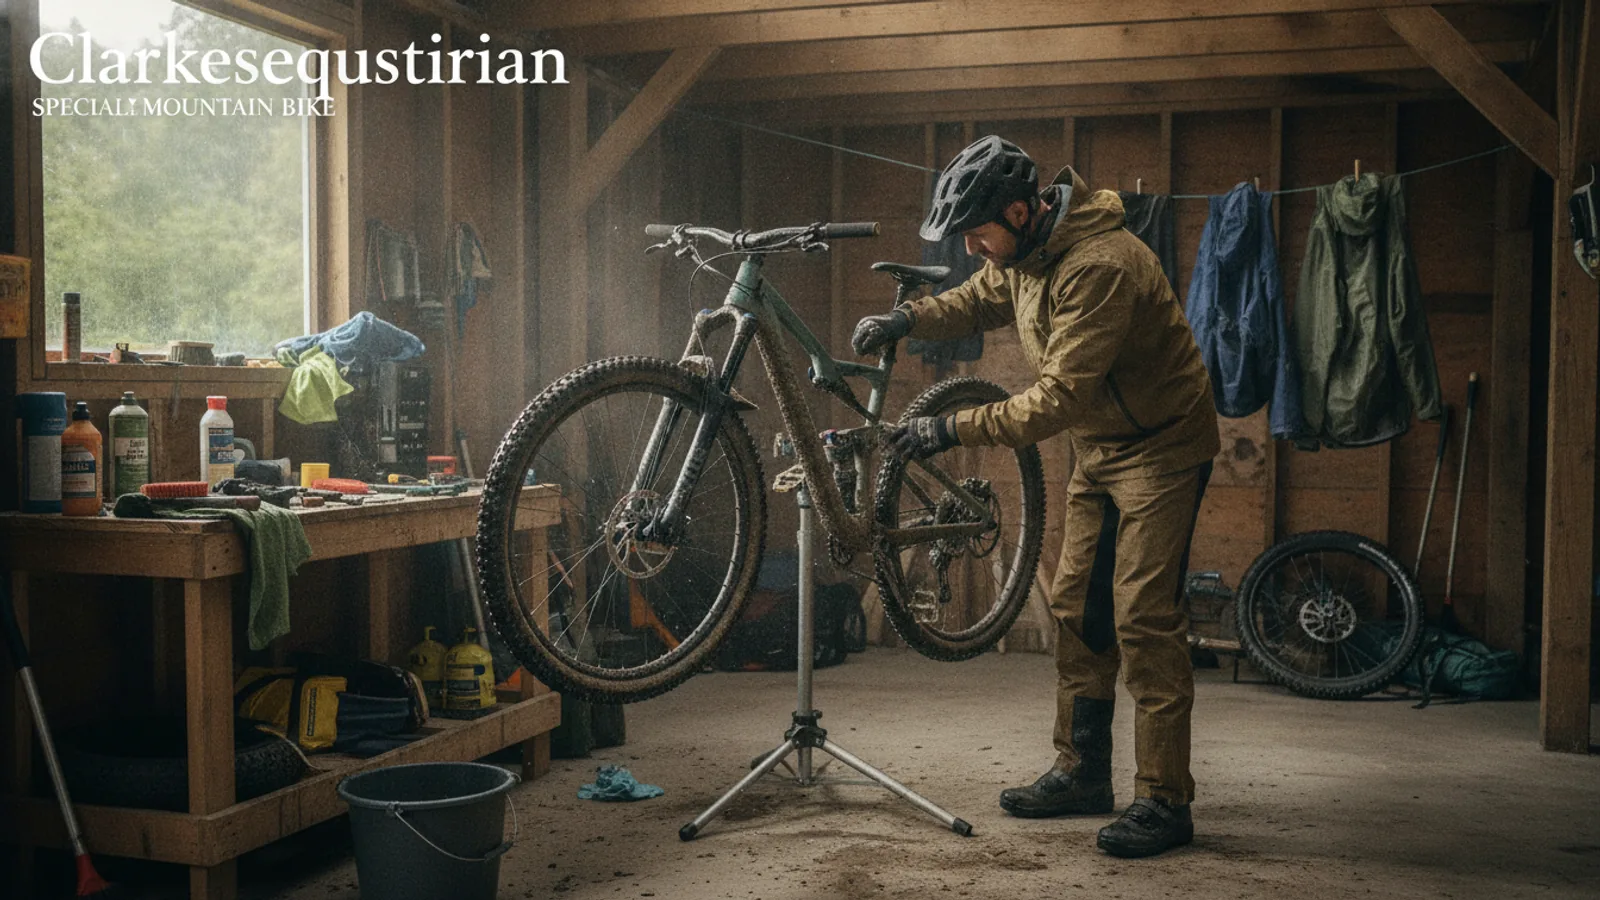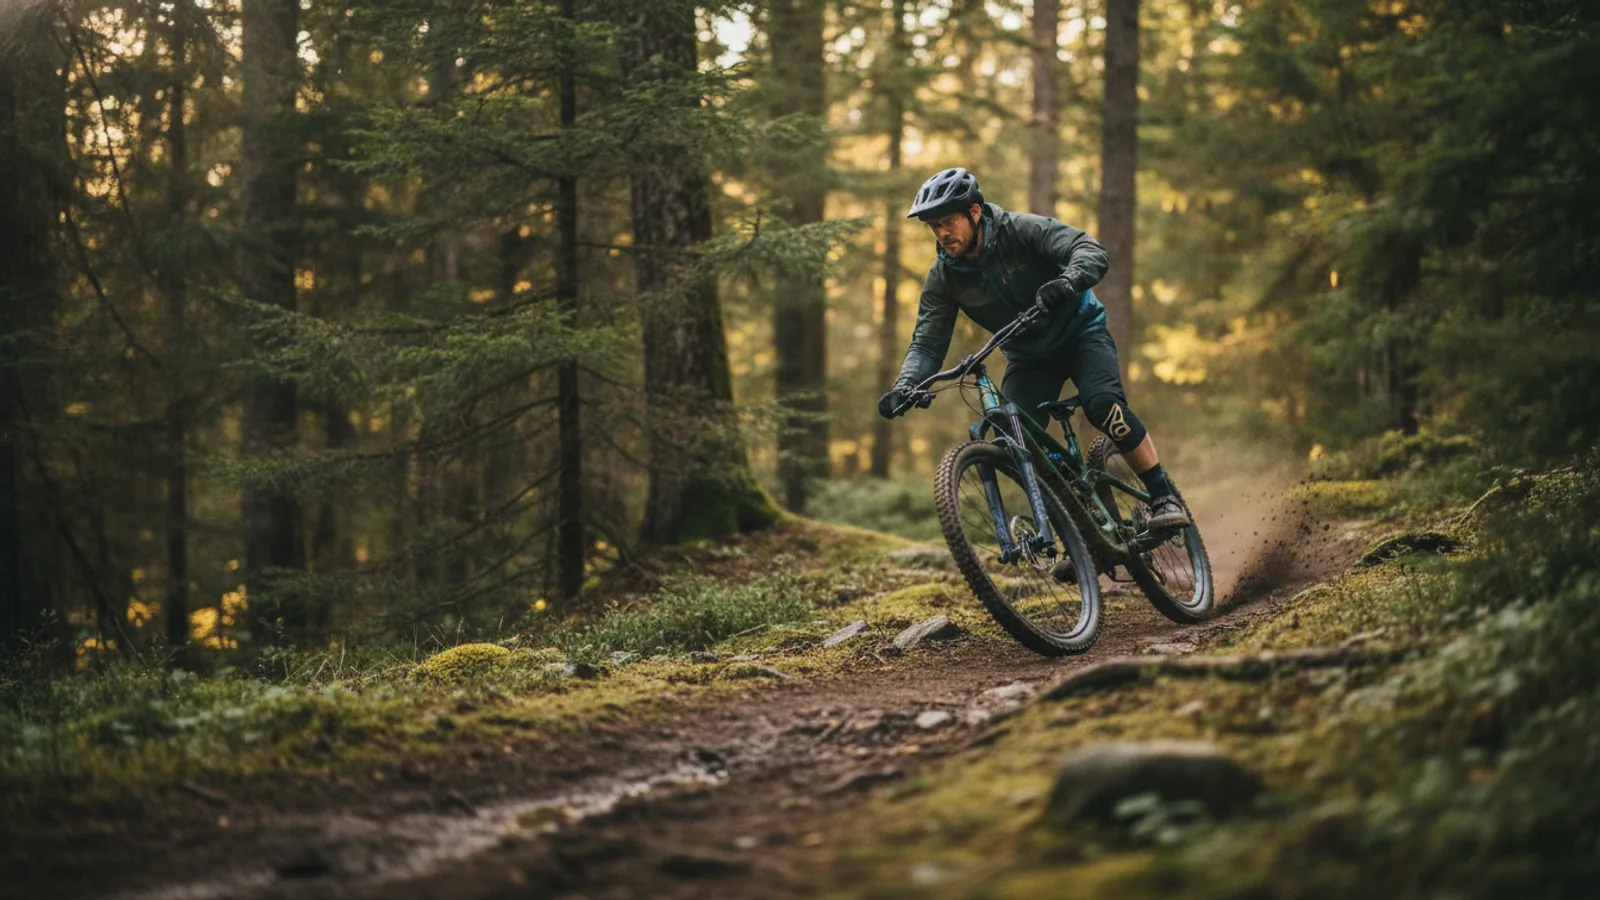
This guide provides a complete walkthrough for understanding, choosing, and performing the essential initial setup on a full suspension mountain bike. It's designed for UK riders upgrading from a hardtail or buying their first proper trail bike. We focus on the practical steps that transform a bike from a shop-floor model into a machine dialled-in for your weight, style, and local trails. Following these steps ensures better control, more confidence, and a faster, more enjoyable ride.
Fast Answer
- Key to success: Match suspension travel and frame geometry to your primary riding style and the terrain you'll encounter most often in the UK.
- First setup step: Set suspension sag correctly for your fully-kitted riding weight.
- Common error: Neglecting to adjust rebound damping, leading to a bouncy or harsh ride feel.
Before You Start
Choosing and setting up a full suspension mountain bike is less about technical wizardry and more about methodical adjustment. Your goal is to create a balanced platform that works with you, not against you. Before you start adjusting dials and pumps, gather the right tools and understand the context of your choices. This preparation is the foundation of a great ride.
What You Need
- Shock Pump: This is non-negotiable. A standard tyre pump cannot reach the high pressures required for suspension and will damage the valve.
- Metric Allen Keys / Multi-tool: For adjusting cockpit controls and checking pivot bolts.
- Ruler or Measuring Tape: A small metric ruler is essential for accurately measuring suspension sag.
- Your Bike's Manual or Manufacturer's Website: This provides baseline pressure/weight charts and geometry details.
- Your Full Riding Kit: You must know your "ready-to-ride" weight. Put on your helmet, shoes, hydration pack with water, and any other gear you normally carry.
Safety, Timing, or Context Checks
- Frame Size: This is the most critical decision. No amount of setup can fix a bike that is too big or too small. Ensure the frame's 'reach' and 'standover' height are appropriate for your body. If in doubt, get advice from a reputable bike shop.
- Budget for Maintenance: Full suspension bikes have more moving parts (pivots, bearings, complex shocks) than hardtails. Factor in the cost of regular suspension servicing (typically annually) to keep it performing safely and effectively.
- Understand Suspension Lingo: Familiarise yourself with terms like 'travel', 'sag', 'rebound', and 'compression'. Our guide will explain these as we go.
Step-by-Step Instructions
Follow these steps methodically to move from a generic factory setup to one that's personalised for you and your riding.
Define Your Riding and Terrain
Before looking at specs, be honest about where and how you ride. A bike designed for downhill racing at Fort William will feel sluggish and cumbersome on the flowing singletrack of a Welsh trail centre. UK riding is diverse, so match the tool to the job.
- Cross-Country (XC): Focused on climbing efficiency and speed on smoother trails. Think long days in the saddle, covering ground quickly. Bikes are lightweight with less suspension travel.
- Trail: The all-rounder category. This suits the majority of UK riders who visit trail centres, explore natural bridleways, and want a bike that climbs well but inspires confidence on descents.
- Enduro: For riders who prioritise descending performance. These bikes are built to handle steep, technical, and rough terrain at speed. They can still be pedalled uphill, but it requires more effort.
- Downhill (DH): A specialised tool for bike parks and uplift-assisted venues. These bikes are not designed to be pedalled uphill at all.
Understand Key Geometry and Travel
Geometry dictates how a bike feels and handles. Suspension 'travel' is the maximum distance the wheel can move to absorb an impact, measured in millimetres (mm). These two factors are intertwined and define the bike's character.
- Suspension Travel: More travel allows the bike to absorb bigger hits.
- XC: 100-120mm
- Trail: 130-150mm
- Enduro: 160-180mm
- Head Tube Angle: A 'slacker' (lower number, e.g., 64°) angle makes the bike more stable at high speeds and on steep descents. A 'steeper' (higher number, e.g., 67°) angle provides quicker, more responsive steering on flatter terrain and climbs.
- Seat Tube Angle: A 'steeper' (higher number, e.g., 77°) angle places your body more directly over the pedals, which is much more efficient for climbing. This is a key feature of modern trail and enduro bikes.
For most UK trail riding, a trail bike with 130-150mm of travel and a head angle around 65-66 degrees is a versatile and capable starting point.
Set Your Suspension Sag
Sag is the amount your suspension compresses under your static riding weight. Setting it correctly is the single most important setup step. It ensures your wheels can extend into dips as well as compress over bumps, maximising traction. The target is usually a percentage of the total shock stroke.
- Prepare the Bike: Ensure any compression/lockout levers on the fork and rear shock are fully open (usually in the 'descend' or 'open' position).
- Gear Up: Get into your full riding kit, including your pack with water.
- Set the O-Rings: Slide the rubber o-rings on your fork stanchion and rear shock shaft down against the dust seals.
- Mount Carefully: Get on the bike gently from the side, without bouncing. Stand up on the pedals in your neutral 'attack position' (level pedals, bent knees and elbows) for about 10 seconds.
- Dismount Carefully: Get off the bike without compressing the suspension further. The o-rings will have moved.
- Measure: Measure the distance in mm from the dust seal to the o-ring.
- For the Rear Shock: Divide this measurement by the shock's total stroke length (e.g., 55mm). Aim for 25-30% sag.
- For the Fork: Divide this measurement by the fork's total travel (e.g., 150mm). Aim for 15-20% sag.
- Adjust and Repeat: If the sag percentage is too high, add air with your shock pump. If it's too low, release a small amount of air. Repeat the process until you hit your target numbers.
Adjust Rebound Damping
Rebound controls the speed at which the suspension returns to its full travel after being compressed. It's often marked with a red dial. Too fast (less damping) and the bike will feel like a pogo stick, kicking back after impacts. Too slow (more damping) and the suspension won't recover in time for the next bump, causing it to 'pack down' and feel harsh.
- Find the Adjuster: It's usually a red knob at the bottom of the fork leg (right side) and near the eyelet of the rear shock.
- Start in the Middle: Turn the dial all the way to the slowest setting (fully clockwise, often marked with a '+'), counting the clicks. Then, turn it back halfway. This is your baseline.
- The Kerb Test: Ride off a kerb at a moderate speed while seated.
- If the rear end bounces more than once, add more rebound damping (turn it a click or two clockwise).
- If the rear end feels like it's taking too long to recover, reduce the rebound damping (turn it a click or two anti-clockwise).
- Fine-Tune on the Trail: The best tuning is done on a familiar section of trail with repeated bumps. The goal is a controlled, stable feel where the wheel tracks the ground without bucking you off.
Dial in Your Cockpit and Contact Points
A comfortable cockpit setup is crucial for control and reducing fatigue. Small adjustments here make a huge difference over a long ride.
- Brake Levers: Position your levers so your index finger rests naturally on the end of the lever blade. Angle them down so that your wrists are in a straight, neutral line when you are in your standing attack position.
- Saddle Height: For climbing, your leg should have a slight bend at the bottom of the pedal stroke. If you have a dropper seatpost, ensure this is the height it returns to in the fully extended position.
- Handlebar Roll: Loosen the stem bolts and roll the handlebars slightly forward or backward to find a comfortable wrist position. The 'upsweep' and 'backsweep' markings should be your guide. Start with them aligned to the stem and adjust from there.
- Tyre Pressure: This is as important as your main suspension. Start with the manufacturer's recommendation, but be prepared to adjust. Lower pressures (e.g., low 20s PSI) offer more grip but risk rim damage. Higher pressures roll faster but can feel skittish. Tubeless setups allow for safely running lower pressures.
Quick Reference
Use this table to quickly align bike characteristics with your intended riding style. This is a general guide to help you narrow down your search in the UK market.
| Riding Style | Typical Suspension Travel | Key Geometry Trait | Ideal UK Terrain |
|---|---|---|---|
| Cross-Country (XC) | 100-120mm | Steeper angles (~67-69°) | Manicured trail centres, South Downs Way, long-distance bridleways. |
| Trail | 130-150mm | Balanced angles (~65-66°) | Most UK trail centres (Afan, Coed-y-Brenin), Peak District, natural Scottish trails. |
| Enduro | 160-180mm | Slack angles (~63-64°) | Tweed Valley, Antur Stiniog, steep techy descents, bike parks. |
Common Problems When Setting Up
Even with careful setup, you might encounter issues on your first few rides. Here are some common problems and their likely causes.
- Problem: The bike feels harsh over small bumps and my hands get tired.
Solution: Your suspension may be 'packing down'. Try reducing your rebound damping (turn the red dial anti-clockwise) by a few clicks. Your tyre pressure may also be too high. - Problem: The bike feels bouncy and uncontrolled after hits, like a pogo stick.
Solution: Your rebound is too fast. Add more rebound damping (turn the red dial clockwise) one or two clicks at a time until the bike feels settled. - Problem: The bike feels sluggish, wallows in corners, and I strike my pedals on the ground often.
Solution: Your sag is likely too high (too much air has been let out). Add 5-10 PSI to your rear shock and fork, and re-measure your sag. - Problem: I'm using all of my suspension travel on minor bumps ('bottoming out' easily).
Solution: You need more air pressure. Add 10 PSI and re-check sag. If the problem persists even with correct sag, you may need to add a volume spacer to your shock or fork to make the suspension more progressive. - Problem: My bike is making a persistent creaking or clicking noise.
Solution: Don't ignore it. The most common culprits are dirty or dry pivot bearings, the headset, or the bottom bracket. It's a sign that your bike needs a clean and potentially a service from a qualified mechanic.
Advanced Tips for Full Suspension Mountain Bikes
Once you've mastered the basics, you can further refine your ride with these advanced tuning techniques.
- Brad-keting Your Settings: To truly feel the effect of an adjustment, make a significant change. For example, add 5 clicks of rebound damping. Ride a familiar trail. Then remove 10 clicks (5 past your starting point) and ride it again. The contrast will highlight what the setting does, allowing you to find a happy medium.
- Volume Spacers: These are small plastic tokens that can be added inside your fork's air spring or your rear shock's air can. They reduce the air volume, causing the suspension to become more 'progressive'—meaning it's harder to bottom out. If you have the correct sag but are still bottoming out on big hits, adding a spacer is the solution.
- Compression Damping: Many mid-to-high-end shocks have a blue compression dial. This controls how the suspension resists forces from the rider (pedalling, pumping) and the trail.
- Low-Speed Compression (LSC): Affects how the bike responds to rider input and slow-speed movements like berms. Adding LSC can make the bike feel more supportive and reduce 'pedal bob'.
- High-Speed Compression (HSC): Affects how the bike handles large, fast impacts like landing a drop or hitting a rock at speed.
- Balancing Front and Rear: A well-balanced bike feels intuitive. If your fork is much stiffer than your shock, the front end will feel harsh while the back end wallows. If the shock is much stiffer, the bike might feel unbalanced under braking. Aim for a similar feel from both ends when you push down on the bike in the workshop and on the trail.
Full Suspension Mountain Bikes FAQ
What is the main advantage of a full suspension bike over a hardtail?
How often should I service my suspension?
Are full suspension bikes harder to pedal uphill?
Can I use a regular tyre pump on my suspension?
What do '29er', '27.5', and 'Mullet' mean?
Final Checklist for Full Suspension Mountain Bikes
Before every big ride, run through this quick pre-flight checklist to ensure your bike is safe and ready to perform at its best.
- Tyre Pressures Checked: Use a digital pressure gauge for accuracy.
- Suspension Check: Cycle the suspension. Does it feel smooth? Are your sag and rebound settings where you left them?
- Bolt Check: Check that your axles, stem bolts, and pivot bolts are secure. If you have a torque wrench, use it.
- Brake Check: Squeeze the brake levers. They should feel firm and consistent. Check for pad wear.
- Dropper Post: Ensure your dropper post moves smoothly up and down.
- Chain Lubricated: A clean, well-lubed chain is a happy chain.
With your bike properly chosen and set up, you're ready to unlock new levels of capability and fun on the trail. Now, go ride!